How do I test the detection zone of an automatic door sensor?
Testing the detection zone of an automatic door sensor is essential for safety and reliable operation. Whether you’re maintaining a retail entrance, office building, or a residential automatic door, a clear, repeatable testing method ensures the sensor detects people and obstacles where it should—and ignores what it shouldn’t. Below is a practical, step-by-step guide you can follow, plus troubleshooting tips and a simple checklist.

Quick overview
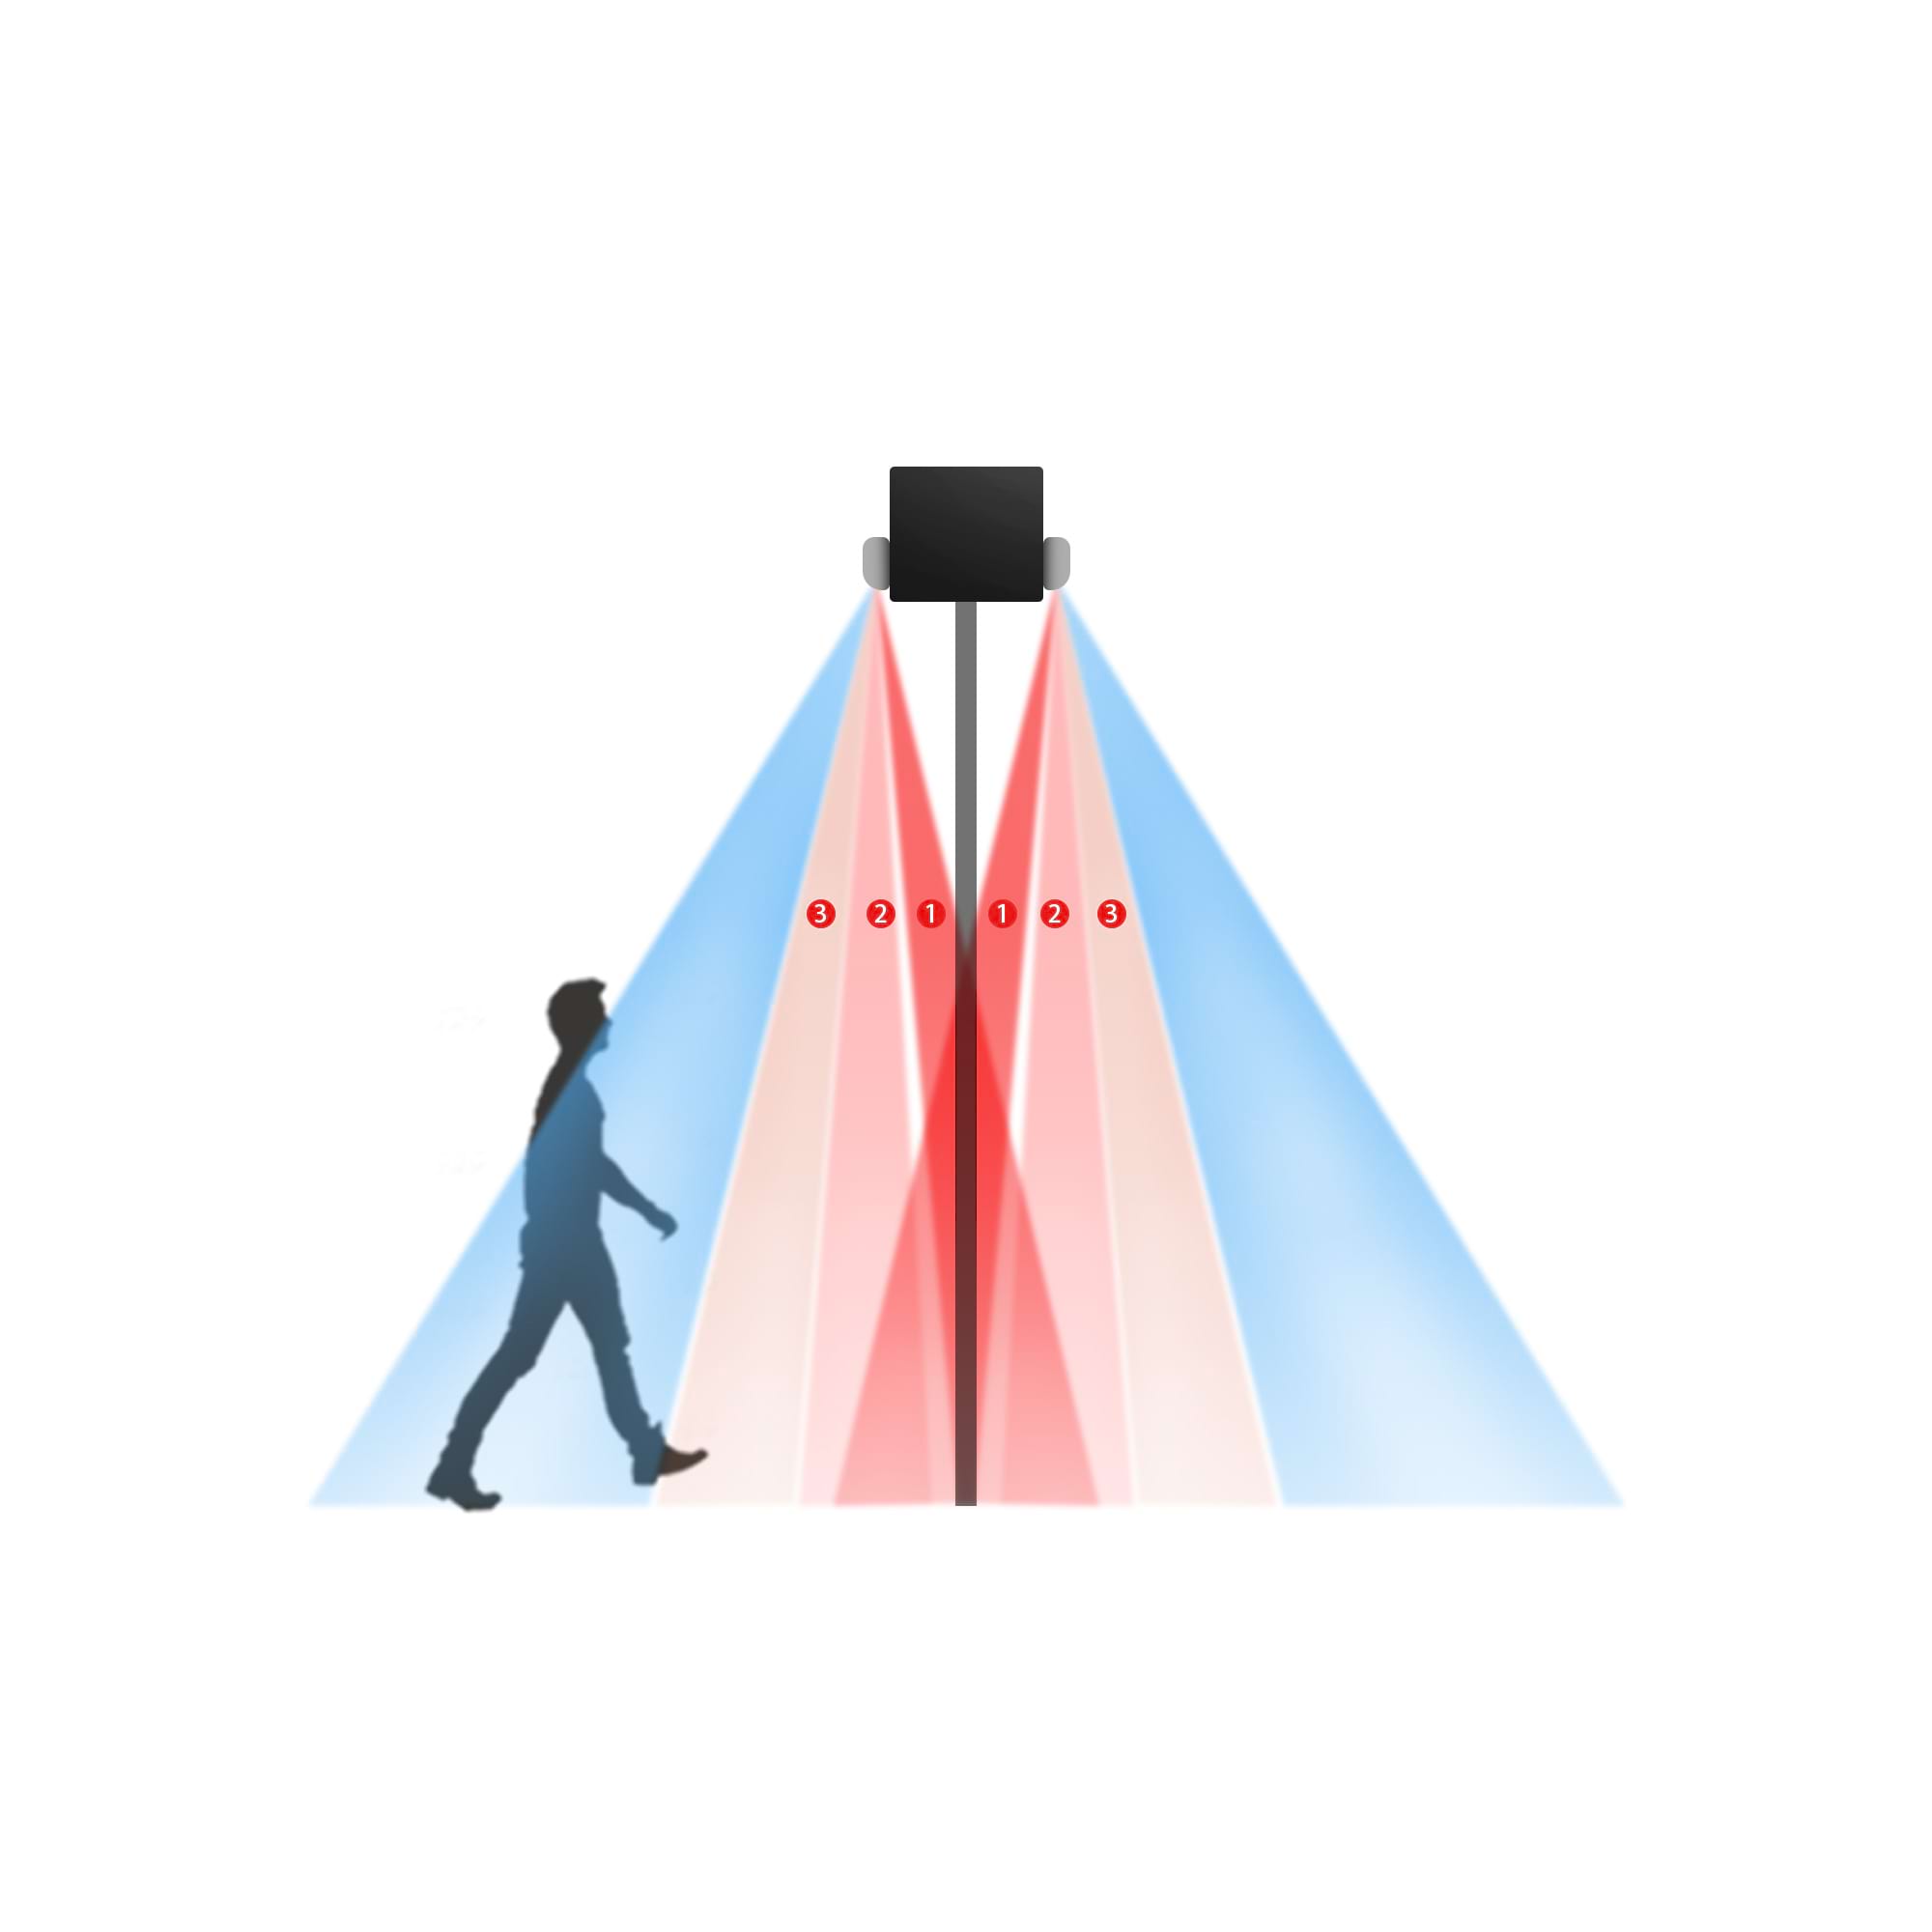
The detection zone is the area in front of the door where the sensor sees motion or presence and triggers the door to open or prevents it from closing. Different sensors (motion/infrared/active/passive, microwave, ultrasonic, lidar, photoelectric) have different detection shapes and ranges. Your test should confirm coverage, blind spots, false triggers, and sensitivity settings.
Safety first
- Inform nearby staff or occupants before testing so doors won’t surprise anyone.
- Use temporary signage if testing a public entrance.
- Keep tools and test equipment clear of door tracks and moving parts.
- If the door is heavy or part of a life-safety system, consider working with a qualified technician.
Tools & items you’ll need
- A measuring tape or laser distance meter.
- Cones, markers, or tape to mark positions on the ground.
- A person or test object (e.g., cart, cardboard cutout) to walk or move through the zone.
- A stopwatch or phone (for timing delays).
- A notepad or checklist to record results and settings.
- Optional: a camera to record tests for documentation.
Preparation steps
- Identify sensor type and location. Note whether it’s mounted above the door, in the header, on the side, or recessed.
- Check manufacturer settings (sensitivity, range, mode) if available—record current settings before making changes.
- Clean the sensor face from dust or dirt—dirty optics cause false readings.
- Ensure normal operating conditions: typical lighting, no unusual obstructions, and normal ambient temperature.
Step-by-step testing procedure
1. Map the expected detection zone
- Measure and mark distances from the door (for example, at 0.5 m / 1 m / 1.5 m / 2 m and so on) and places laterally across the width where people would approach.
- Mark positions at the edge and center of the doorway, plus offsets left/right (e.g., every 0.5 m).
2. Static presence test
- Stand at each marked position and hold still for several seconds.
- Observe whether the sensor registers presence (door opens or a diagnostic light activates).
- Record results: positions that trigger vs positions that don’t.
Purpose: checks presence detection and blind spots.
3. Walking path (dynamic) test
- Walk along typical approach paths (center, left, right) at normal walking speed toward the door.
- Repeat walking at a brisk pace and slowly, to see if speed affects detection.
- Note where the sensor first triggers (distance from door) and whether the door opens smoothly.
Purpose: checks motion detection and reaction distance.
4. Crossing test
- Walk across the detection zone laterally in front of and away from the door (perpendicular to approach).
- This checks for side-to-side coverage and whether someone crossing in front while the door is closing will be detected.
Purpose: ensures safety during closing.
5. Small object / low profile test
- Push or roll a small, low object (box, cart) through the zone to test low-height detection.
- If the sensor should detect wheelchairs or strollers, test those specifically.
Purpose: verifies detection of low or small targets.
6. False trigger test
- Place common non-hazardous items near the sensor path (swinging tree branches, passing cars, reflective signs, heating vents) to see if they cause false opens.
- Test at times and in conditions the door normally experiences (sunlight glare, rain vibration, HVAC drafts).
Purpose: identify environmental false positives.
7. Sensitivity and range adjustment
- If the sensor has adjustable sensitivity/range, change settings in small increments and repeat key tests to find the best balance between coverage and false triggers.
- After each adjustment, document the setting and the observed detection distances.
How to interpret results (pass/fail)
- Pass if the sensor reliably detects people approaching from realistic paths and distances, detects small/low targets you intend it to, and does not open unnecessarily for known environmental triggers.
- Partial if coverage is inconsistent (blind spots or variable triggering) — consider adjusting sensor position/angle or sensitivity.
- Fail if it misses normal approach paths, creates unsafe closing conditions, or constantly false-triggers — escalate to repair or replacement.
Common problems & fixes
- Blind spots at edges → Reposition sensor, change its mounting height/angle, or use an additional side sensor.
- Too many false triggers → Reduce sensitivity/range; shield the sensor from moving elements; check for reflective surfaces.
- No detection at all → Check power, wiring, and sensor cleanliness; run manufacturer diagnostics; replace faulty unit.
- Intermittent detection → Check for loose wiring, thermal drift, or transient interference (microwave sensors near heavy machinery).
Maintenance & verification schedule
- Monthly: visual inspection and basic static/dynamic test.
- Quarterly: full zone mapping and sensitivity check.
- After any incident or complaint: immediate retest and documentation.
Documentation checklist (what to record)
- Sensor model and serial (if available).
- Mounting height and orientation.
- Date and tester name.
- Measurements of trigger distances per approach.
- Any adjustments made (sensitivity, angle) and final settings.
- Pass/fail outcome and recommended actions.
Final tips
- When in doubt about safety or complex automatic door systems (fire doors, high-traffic commercial entrances), use a certified automatic door technician.
- For multi-sensor systems, test each sensor individually and then the whole system together.
- Keep a simple “test log” near the door or in your maintenance system so anyone can follow the same procedure later.
A systematic test not only keeps people safe but also helps avoid unnecessary wear and costly repairs. Follow the steps above, record what you find, and adjust settings incrementally until the sensor behavior matches the real-world needs of the site.


